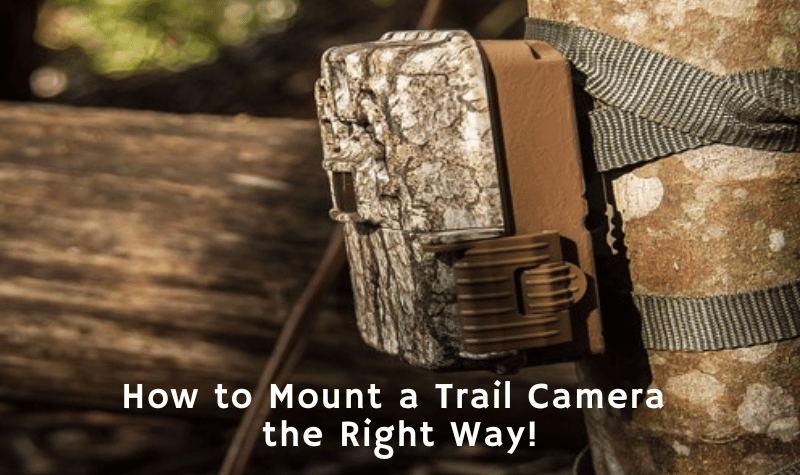
Trail cameras are becoming increasingly popular among hunters and wildlife photographers. They are used to capture images of wildlife in their natural environment, which can be incredibly helpful for both hunters and photographers. However, it is important to know how to mount a trail camera properly to ensure that you get the most out of your camera. This article will provide tips on how to properly mount a trail camera to ensure you get the best possible images.

What is Trail Camera?
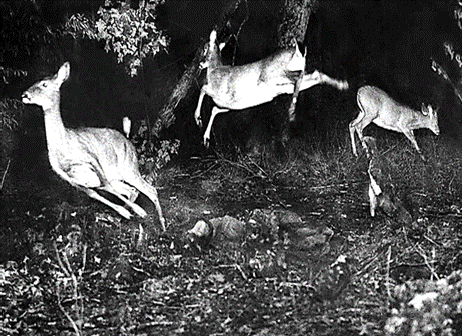
A trail camera is a motion-activated camera that is often used to capture images of wildlife on trails, in forests, and in other outdoor locations. It can be used to capture images of deer, birds, and other wildlife and track their movements. Trail cameras are typically equipped with infrared sensors to detect movement in low-light conditions. They are also equipped with time-lapse photography and video capabilities, allowing them to capture long-term wildlife movements.
Trail cameras are becoming increasingly popular due to their ability to capture images without disturbing wildlife. They are also not expensive, making them an attractive option for hunters and photographers. However, in order to get the most out of your trail camera, it is important to know how to mount it properly.
How to Mount a Trail Camera Properly? (Angle, height, distance)
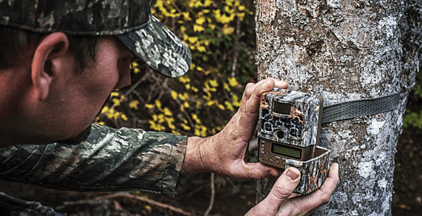
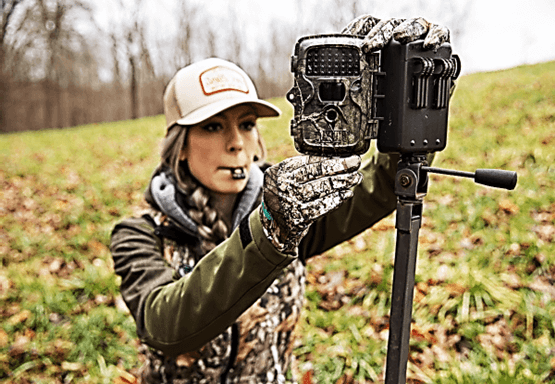
When mounting a trail camera, it is important to consider the angle, height, and distance from the subject of the image. The camera’s angle should be adjusted so that it faces the subject directly, as this will ensure that the image is clear and focused.
The camera’s height should also be considered, as a higher camera will provide a better view of the subject. Finally, the distance of the camera should be adjusted to ensure that the subject is not too close or too far away.
The environment type in which the camera is being mounted should also be considered. For example, in a forested area, the camera should be mounted at a higher angle to capture images of animals hiding in the foliage.
In an open area, the camera should be mounted at a lower angle to capture images of animals walking on the ground.
Choosing the Right Trail Camera
Many trail cameras have infrared sensors, time-lapse photography, and video capabilities. It is also important to consider the battery life of the camera, as well as the type of memory card it takes. Additionally, it is important to consider the camera’s resolution, as this will determine the clarity of the images it captures.
Mounting a Trail Camera
Once you have chosen the right trail camera, it is time to mount it.
1. Choosing the Proper Location
The first step in mounting a trail camera is to choose the proper location. Choosing a location that is not too exposed is important, as this can lead to the camera being damaged by the elements or stolen by someone. Also, it is important to choose a location with good lighting so that the camera can capture clear images. It is also important to ensure that the camera is not too close to the subject, as this can lead to grainy images.
2. Installing the Trail Camera
Once the proper location has been chosen, it is time to install the camera. First, the mounting bracket should be attached to the tree or post that the camera will be mounted on. The camera should then be attached to the bracket, ensuring it is secure and properly aligned.
3. Setting Up the Camera
Once the camera is mounted, it is time to set it up. First, the settings should be adjusted so that the camera can capture the images you want. The camera should then be tested to ensure that it is working properly.
How do you hide trail cameras properly?

Once the camera is set up and ready to go, it is important to ensure it is hidden from view. This can be done using natural foliage or tree branches to cover the camera. Moreover, ensure that the camera is placed in an area where it won’t be disturbed by animals or people.
Finally, ensure that the camera is securely mounted, as this will ensure that it stays in place and captures clear images. Additionally, it is important to check the camera regularly to ensure that it is working properly and that the images are clear.
Further Tips:
- Location
Firstly, make sure you choose the right location for your trail camera. It should be placed in an area with plenty of activity and where the animals feel comfortable. Use camouflage or a camouflage cover for the camera if necessary. Consider the terrain, the time of day, and the weather, as these factors can impact the images you capture.
- Settings
Next, check the settings on your trail camera. Ensure the motion sensor is set to detect animals as closely as possible without being too sensitive. The speed of the shutter should be adjusted according to the type of animals you are trying to capture. For example, if trying to capture fast-moving animals, set the shutter speed to the highest setting possible.
- Memory card
Thirdly, use a high-quality memory card for your trail camera. This will ensure that you can capture the highest-quality images and videos. Also, check the memory card often and delete unnecessary images or videos.
- Maintain and Protect
Finally, maintain and protect your trail camera. Ensure the camera is secured to the tree or post with a metal chain or strap. You should also check the camera regularly to ensure it is working properly and that the motion sensor is in good condition.
Follow these tips to get the most out of your trail camera. With a little bit of preparation and care, your trail camera will be a valuable tool for capturing incredible images of wildlife in their natural environment.
Additional Resources
If you are looking for more tutorials, walkthroughs and troubleshooting about camping and enjoying the outdoors, here are some additional posts to check out:
Conclusion
Mounting a trail camera properly is essential for getting the best possible images. It is important to choose the right trail camera and the right location, angle, height, and distance. The camera should be securely mounted and hidden from view. These tips will make sure that the trail camera captures the images you want.
You can check my review “Selecting the Best Hunting Trail Camera for Guaranteed Success” to find my suggested model of what I consider the best trail camera. With the right trail camera and proper mounting, you will get the best possible images of wildlife in their natural environment.
Thanks for reading! If you think I forgot something or if you simply want to share a story or some advice, feel free to leave your comment below. Be safe and have fun.!
